A phone can start showing strange at any time. The battery may drop fast. The screen may stop responding. The phone may also refuse to charge.
Your first thought may be to replace a part. You may save money and avoid an unnecessary repair. A good DIY repair starts with a proper diagnosis. You need to know what went wrong before you open the phone.
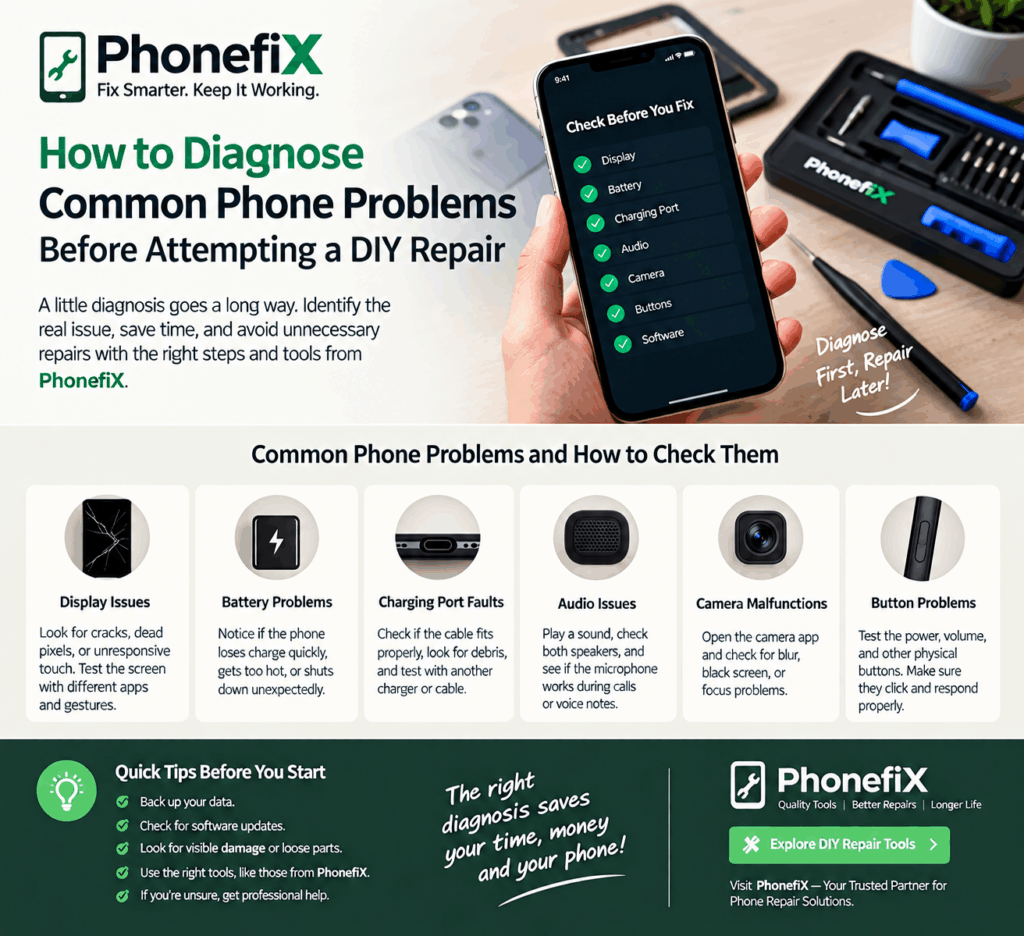
Start With What Changed
Think about when you first noticed the problem. Did you drop the phone? Did it get wet? Did you install a new app? Did you use a different charger? Did the issue appear after a software update?
Each detail can give you a useful clue. Suppose your phone worked fine yesterday. You dropped it this morning, and the screen stopped responding soon after. Physical damage now looks more likely.
The same idea applies to charging problems. Your phone may stop charging after you switch to a cheap cable. Test the cable before you blame the phone.
Try to describe the problem instead of guessing the cause.
“The battery is broken” is a guess.
“The battery drops 20% in one hour during light use” gives you something you can test.
That small change can make phone diagnosis much easier.
Do the Basic Checks First
Start with the simple things. Restart the phone. A software glitch can cause many strange problems. A restart may restore the camera, touch screen, or other functions. Test another compatible adapter too.
Inspect the charging port. Dust and pocket lint can collect inside the port. The buildup can stop the connector from making good contact.
You can use the same approach for other problems. can also tell you if the phone is really the source of the problem.
Your Phone Will Not Turn On
A dead phone can cause panic. You may worry about your photos, contacts, and other files. Do not open the phone right away. Connect it to a charger that works. Leave it connected for some time if the battery may have reached zero.
Then try to turn it on. Pay attention to any response. Does the phone vibrate? Does the screen flash? Do you hear a sound? Does the phone react when you connect the charger?
Small signs can help you narrow down the fault.
A phone that vibrates but shows no picture may still work. The display or its connection may have a problem.
A phone that gives no response needs a different check. The battery, charging circuit, power system, or motherboard may have a fault.
Try a forced restart if your phone supports one. Check the correct button combination for your model.
Your Phone Is Not Charging Properly
Charging problems often look worse than they are. Start with the cable. Use another cable and see what happens. Test another adapter too.
If the phone charges normally, you may have found the problem. Next, inspect the charging port. Use a light so you can see inside. Clean the port with care. Do not push a sharp metal object deep inside it.
Now check how the phone reacts to the charger. Does charging start and stop? Does the phone charge very slowly? Does the cable need a certain position?
A cable that works only at one angle can point to a worn or damaged port.
Still, do not order a new charging port yet.
Battery Drains Too Quickly
Fast battery drain can become a daily headache. Your phone may show 50% in the morning and reach 10% before lunch. That does not always mean the battery has failed.
Check the battery section in your phone settings. Look at the apps that use the most power. A game or video app may consume a large amount of energy. Navigation apps can also use a lot of battery.
Screen brightness matters too. Poor mobile reception can also drain the battery faster. Your phone may use extra power when it searches for a stronger signal.
Run a simple test. Charge the phone fully. Close apps that you do not need. Leave the phone idle for some time. Check the battery level later.
A large drop during idle use can point to a battery problem. Also check the physical condition of the battery. A swollen battery needs serious care. Do not press it or try to repair it yourself.
The Phone Gets Hot
Some heat is normal. Your phone may get warm during a long game session. Video calls, GPS use, video recording, and fast charging can also raise the temperature.
Excessive heat is different. Start by closing demanding apps. Let the phone cool down. Remove the case for a short test if it seems to hold heat.
Then check the phone again. Pay attention to the location of the heat.
Is the area near the charging port hot? Does the battery area feel warmer than usual? Does one small spot on the motherboard get hot?
That last sign can help you find a hardware fault.
Thermal Imaging Can Reveal Hidden Problems
Some phone faults are hard to see. A damaged component on the motherboard may create extra heat. A short circuit can also produce an unusual hotspot.
Your phone may simply stop working. You may see no obvious damage on the board.
A thermal camera can help in such cases.
The WXY P30R Pro Infrared Thermal Camera Phone Fault Diagnostic Tool can show temperature differences across electronic components. It also supports iOS, Android, and Windows devices. You connect it to a suitable power source. One small area on the motherboard becomes much hotter than the rest.
That hotspot gives you a useful clue. It does not prove that the hot component is the failed part. You still need more tests. The thermal image can, however, help you decide where to look first.
A tool like this can prove useful if you repair phones on a regular basis.
Touchscreen Only Works in Some Areas
A touchscreen can fail in one small area. Start with the simple checks. Restart the phone. Clean the screen. Check your screen protector. A damaged protector can affect touch response.
Next, test the whole screen. Open a drawing app. Move your finger slowly across the display. Check each section.
Suppose the top half works but the bottom area does not. That gives you a clear clue. A cracked display can cause this problem. A loose connection can also affect touch response.
Think about the phone’s recent history too. A drop before the problem can point to physical damage.
Wi-Fi or Bluetooth Keeps Disconnecting
Wireless problems can come from several sources. Your phone may not be the problem at all.
Test another Wi-Fi network first. If the phone works well on another network, check your router before you open the phone. Bluetooth needs a similar test. Try another Bluetooth device. Restart both devices and connect again.
Software settings can also cause connection problems. A network reset may help in some cases. Keep in mind that the reset can remove saved Wi-Fi details.
A hardware issue becomes more likely if the same problem appears across different networks and devices.
Camera Suddenly Stops Working
A camera problem does not always require a new camera module.
Open the camera app. Test every camera on the phone.
Try the front camera first. Then test the rear camera. Check video mode too.
Suppose the front camera works but the rear camera shows a black screen. You now have a much clearer clue. Did the phone fall? Did water reach it? Did someone repair the phone recently?
A loose camera connection can cause problems after a repair. A drop can also damage the camera module.
Test each function before you buy a replacement camera.
Be Careful With Water Damage
Water damage needs extra care. Do not keep turning the phone on after liquid enters the device. Power can create more damage when moisture reaches internal parts.
Avoid strong heat too. A hair dryer can push moisture deeper into the phone.
Professional inspection can make more sense after serious liquid exposure. A technician can check the internal parts without adding more risk.
When Should You Stop the DIY Repair?
DIY repair can save money. It can also become expensive if you work on a problem that needs specialist skills.
A screen or battery replacement may suit an experienced DIY user. You still need the correct tools and a repair guide for your exact phone model.
Motherboard repair is different.
Microsoldering requires skill. Short-circuit diagnosis can also require specialist equipment. Power-related faults may need advanced testing.
Think about the phone’s value too.
An older phone may need several expensive parts. Compare the repair cost with the price of another phone before you spend more money.
Diagnose Before You Buy Parts
A screwdriver is not always the first tool you need.
Start with observation. Check the symptoms. Test the charger. Restart the phone. Inspect the port. Check battery use. Look for physical damage.
Then move to more advanced tests if the simple checks do not explain the problem.
Thermal imaging can help when a motherboard fault has no obvious visual sign. A hotspot can show you where to focus your next test.
The main goal is simple. Do not replace parts based on a guess.
A phone that will not charge may need a new cable. A fast-draining battery That is not always the right move. A simple test can sometimes reveal the real cause may have an app problem. That approach can save money and reduce unnecessary repairs. More importantly, it helps you understand the actual problem before you make it worse.
Diagnose first. Repair second.