If you’ve ever recorded audio and found that it was choppy or distorted, you’re not alone. This can be a frustrating problem to solve, but with the right tools and techniques, you can get your recording back on track in no time! In this quick guide, we’ll walk you through some of the best ways to fix an audio clip that is playing back choppy or distorted. Follow these steps and you’ll have your recording sounding like new in no time!
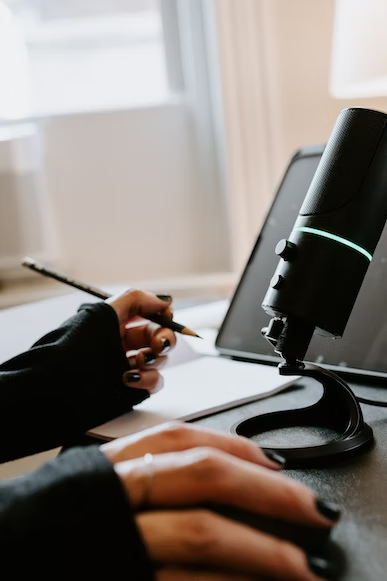
1) Find a Program
There are a number of audio editing programs available on the market, and the right one for you will depend on your specific needs and preferences. Some programs are more geared towards professional use, while others are more user-friendly and easy to learn. However, for fixing clipped audio, in particular, Adobe is the most widely used and reliable program. It is also relatively affordable compared to other professional software. Also, there are other software solutions, which are free and open-source programs that can be just as effective. When choosing a program, make sure to read reviews and compare features to find the best fit for you. No matter what program you choose, make sure that it has all the features you need to fix your audio clip.
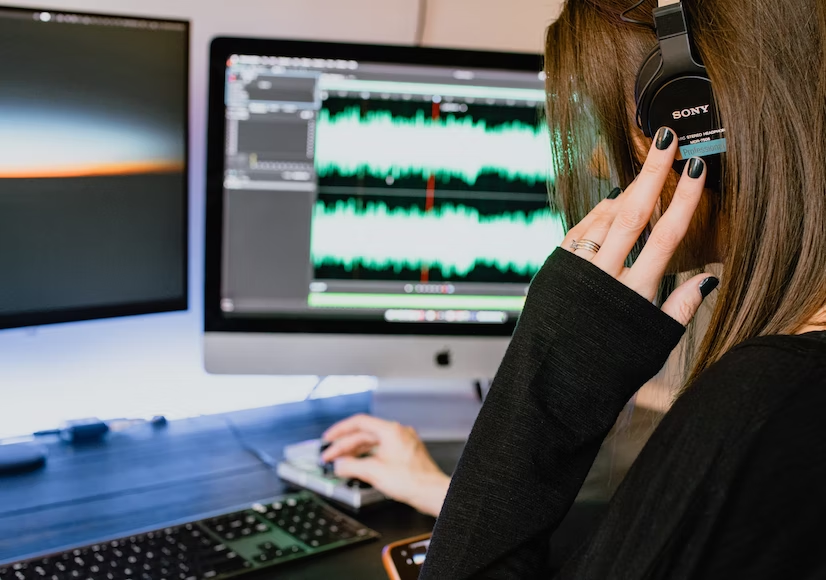
2) How to Know If Your Clip is Distorted?
The first step in fixing an audio clip is to identify whether or not the distortion is coming from the recording itself. To do this, open up your audio file in the program you’ve chosen and take a listen. If you hear any crackling, popping, or other strange noises, then the issue is most likely with the recording. However, if the playback is smooth but the sound quality is poor, then the problem is probably with the encoding or compression of the file. In order to identify the source of the problem, it’s helpful to listen to the recording on different devices and with different programs. This will help you rule out any potential software issues and focus on fixing the recording itself.
3) Clean Up the Audio Clip
Once you’ve identified that the issue is with the recording, it’s time to start cleaning up the audio clip. The first thing you’ll want to do is remove any background noise that may be present. To do this, you can use a noise reduction tool in your audio editing program. Simply select a section of the recording that only contains background noise, and then let the software do its job. You should see a significant improvement in the quality of the recording after running the noise reduction tool.
4) Remove Clipping and Distortion
If there is clipping or distortion present in the recording, you can try to fix it by using an audio repair tool. This will usually work best on recordings that only have a small amount of damage. Simply select the damaged section of the recording and let the software attempt to repair it. In most cases, the audio repair tool will be able to fix the issue and improve the quality of the recording. However, in some cases, the damage may be too severe and the audio repair tool will not be able to fix it. If this is the case, you may need to re-record the section or use a different repair method.
5) Additional Editing
Once you’ve repaired the audio clip, you can then proceed with any additional editing that you need to do. This may include cutting out sections of the recording, adding effects, or changing the playback speed. However, it’s important to note that these types of edits should be done after the clipping and distortion have been fixed. This is because further editing can potentially make the issue worse. If you follow these steps, you should be able to fix an audio clip that is choppy or distorted.
6) Export the File
Once you’ve made all the necessary repairs to the audio clip, it’s time to export it as a new file. This is important because it will allow you to keep the original recording safe and sound. Make sure to choose a high-quality export format, such as WAV or AIFF, in order to preserve the quality of the recording.
No matter what your profession, you’ve likely come across a situation where you need to make an audio recording. Whether it’s for a business meeting, a class project, or just to capture a special moment with friends and family, the quality of your recordings is important. If you’re having trouble getting good sound quality from your audio recordings, don’t worry – this article will help you troubleshoot the issue and get great-sounding recordings in no time.