Although digitalization has taken over the world, DVDs still hold a unique place, carrying memories, important data, or our favorite movies. However, with time, DVDs tend to get damaged, lost, or become obsolete.
Moreover, as cloud storage and streaming services are the today’s norm, it’s more convenient to have digital copies of our DVDs. That’s where DVD ripping comes in.
This guide dives into some specifics of ripping DVDs as well as finding the best DVD ripper on both Mac and Windows. Let’s get started!

Understanding DVD ripping
DVD ripping involves converting the content of DVDs into digital files. This process is crucial for backing up, preserving, and making DVD content more accessible and versatile. Ripping allows users to watch their favorite movies or access data without relying on physical discs, which can degrade over time.
Legal considerations: While ripping DVDs for personal use is generally acceptable, it’s important to be aware of copyright laws. Distributing, sharing, or selling ripped content is illegal and can lead to serious legal consequences.
Formats and quality: You can convert ripped DVDs into various digital formats, including MP4, AVI, MKV, etc. The choice of format affects the quality, file size, and compatibility with different devices and media players. Higher quality settings result in larger files, so balancing quality with storage limitations is key.
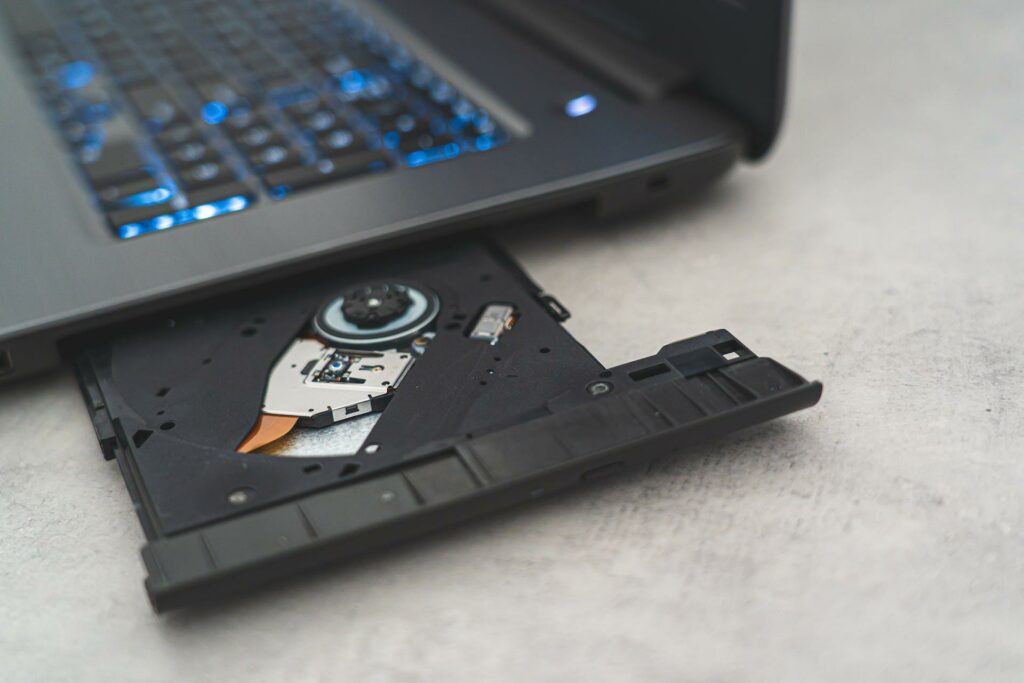
Software and hardware requirements: The process requires specific DVD ripping software. Additionally, a functioning DVD drive (either internal or external) is necessary to read the DVD. The computer’s processing power and available storage also influence the ripping speed and feasibility.
Choosing the right DVD ripper
Compatibility: Ensure the DVD ripping software is compatible with your operating system, whether it’s Mac, Windows, or another platform. Some software is designed specifically for one system and may not work well or at all on others.
User Interface: The program should have an intuitive and user-friendly interface. This makes the ripping process smoother, especially for those who are not technically inclined.
Output Formats: Look for a DVD ripper that supports a wide range of output formats. This flexibility allows you to choose the format that best suits your needs, whether it’s for compatibility with various devices or for specific quality requirements.
Ripping Speed: Consider the speed of ripping DVDs. Faster software can save significant time, especially when ripping multiple DVDs.
Quality Settings: The ability to adjust quality settings is crucial. Options to modify resolution, bitrate, and codecs can help balance quality and file size.
Step-by-step guide to rip DVD on Mac
1. Preparing your Mac
• Ensure your Mac is updated to the latest OS for compatibility and performance.
• Check for sufficient storage space on your Mac. DVD files can be large, so ensure you have enough free space.
• Install a reliable way to do a DVD rip.
2. Using the software
• Open the chosen DVD ripper application.
• Insert the DVD into your Mac’s DVD drive. If your Mac doesn’t have a built-in drive, you’ll need an external DVD drive connected via USB.
• Select your DVD and choose the desired output format. Common formats include MP4, MOV, AVI, or MKV.
• Adjust any additional settings like resolution, codecs, or subtitles as needed.
3. Ripping the DVD
• Start the ripping process. This may take some time depending on the length of the DVD and your Mac’s processing power.
• Once ripping is complete, save the file to your desired location. Ensure it’s labeled for easy access later.
Step-by-step guide to rip DVD on Windows
1. Preparing your Windows PC
• Update your PC to the latest version of Windows for better compatibility and security.
• Ensure ample storage space is available on your PC. Consider using an external hard drive if needed.
• Install a DVD ripper.
2. Selecting and using the software
• Launch the DVD ripping software on your PC.
• Insert the DVD into the PC’s DVD drive.
• In the application, choose the DVD as the source. Then, select your preferred output format.
• Tweak additional settings like video quality, audio tracks, or else if needed.
3. Ripping the DVD
• Initiate the ripping process. The duration will depend on the DVD’s content length and your PC’s performance.
• Once completed, label and save the ripped file in a designated folder.
Top DVD rippers for Mac
MakeMKV
This software for ripping DVD is straightforward and easy to use. It allows users to rip DVDs into MKV files without losing quality. The tool also has the ability to rip encrypted DVDs. However, the output format is limited to MKV only.
MacX DVD Ripper Pro
This DVD ripping software stands out for its speed and the ability to rip DVDs into a variety of formats, including MP4, MOV, and others. The program has advanced options like batch conversion and customizable quality settings. It also offers features like extracting audio and bypassing DVD encryptions.
Top DVD rippers for Windows
WinX DVD Ripper Platinum
Known for its fast ripping speed and wide format support, this DVD ripper is one of the best options for Windows users. It can rip DVDs to various formats including MP4, AVI, WMV, MOV, and more. The software also allows you to copy DVD discs and convert them for playback on different devices such as smartphones, tablets, and game consoles.
DVD Shrink
A long-standing favorite for its ability to compress DVD data and customize output. The software is not only efficient in ripping DVDs, but it also can remove copy protections and region codes. In addition, the program offers a feature called “Reauthor”, which allows you to select specific parts of a DVD for ripping, making it ideal for creating custom compilations.
Conclusion
DVD ripping is a convenient way to convert physical DVDs into digital files for easier storage and playback. However, it’s important to keep in mind the legal implications and choose a reliable and efficient DVD ripper based on your specific needs and operating system. With the right software and following the step-by-step guides provided, you can easily rip DVDs on both Mac and Windows.